
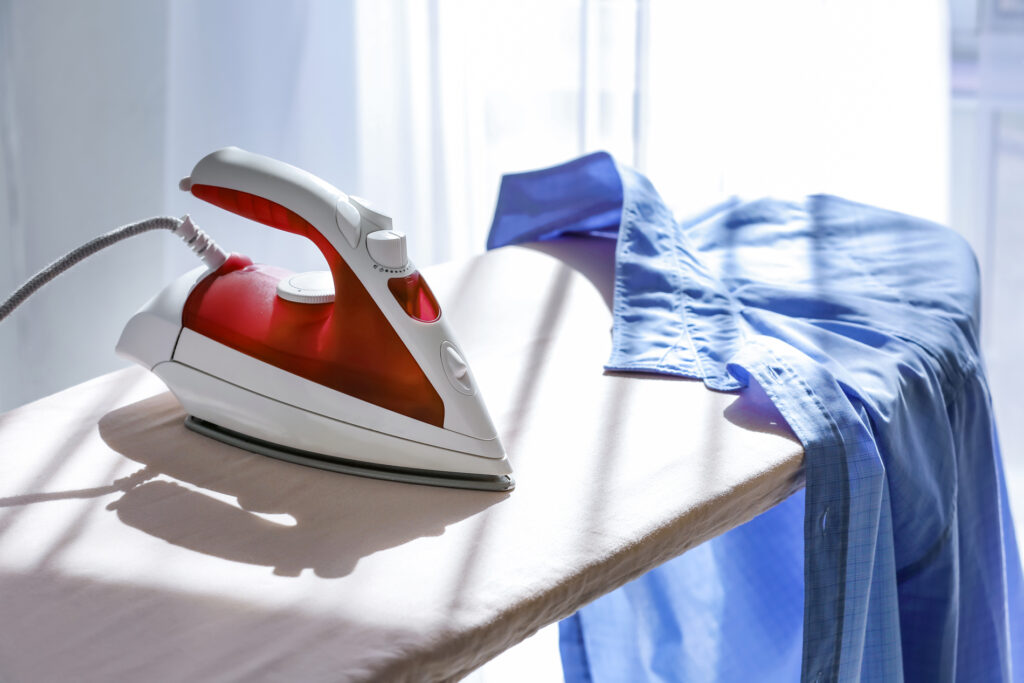
Choosing an iron is a huge commitment. Ok, well, it’s not that big of a deal, but the right one could make all the difference. It’s important to ask yourself some questions. Does it sit solidly? Does it feel comfortable in your hand? Are the settings easy to change? Is the tank easy to fill and empty?
Those questions are just the start. Make sure to consider the following:
What kind of features does it have?
- Offers self-cleaning action
- Provides extra steam release
- Shuts off automatically
- Offers cordless use
- Shoots a jet of steam
In addition to the regular metal soleplate, a non-stick soleplate finish is available that allows the iron to glide easily. It resists accumulation of fibers, linen and starch, but it can be scratched by pins or zippers.
How much does it weigh?
Most irons made today are lightweight, which means they weigh about a pound less than old conventional irons. Their lighter weight makes them less tiring to use. They also have faster heat-up and cool-down so you don’t have to wait as long to start ironing or change fabric settings.
What type of ironing board will you pair with it?
You’ll want to start with a sturdy board so it doesn’t tip or collapse. It should have a metal top with adequate ventilation for the steam to escape, and it should be lightweight and adjustable so you can select the ironing height that is most comfortable.
What about the pad and cover?
Your ironing pad should be thick and resilient enough to provide a good cushion for ironing, as well as to permit absorption of excess steam. The cover can be muslin, silicone or Teflon. A muslin cover is soft, absorbent, and can be tossed into the washer and dryer. It should be removed from the dryer while still slightly damp, replaced on the ironing board, and sprayed lightly with Faultless Spray Starch to keep it fresh and clean longer.
Silicone and Teflon ironing-board covers help reflect heat, so your ironing goes faster, and they are scorch and stain resistant. They are smooth, so clothes move more easily when you arrange them on the board. Machine laundering ruins the finish of a silicone or Teflon cover, so just use a damp sponge to wipe it clean, then go over it with a dry iron to remove all moisture. This helps keep it fresh and usable longer.
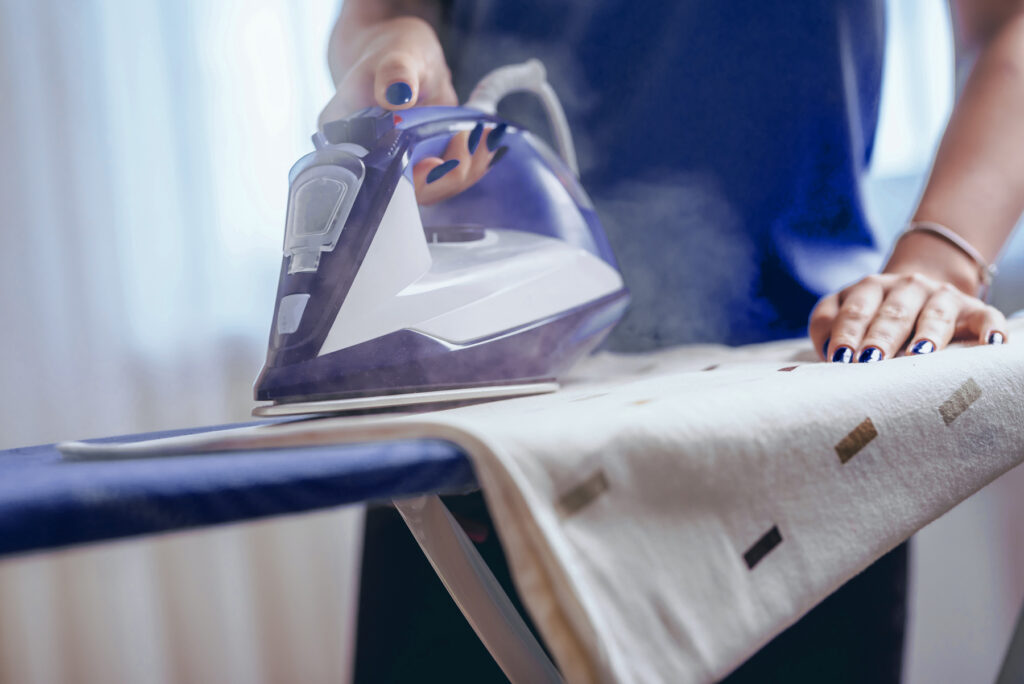
We all know the feeling of sliding into a freshly made hotel bed with cool, crisp sheets. This is one of the most anticipated luxuries of the hotel experience, so it’s no wonder we often find ourselves shopping for higher thread counts post-vacation in hopes of achieving the same pampered feeling at home. However, if you really want to impress your guests and achieve the same meticulous look as a five-star luxury hotel, the key is to properly starch and iron your bed linens. Here’s how to do it:
- Remove your linens from the dryer before they’re fully dry. Ideally, cotton linens will be slightly damp to the touch. This will make ironing easier.
- Spray each piece with starch. This is truly the key to achieving the same look and feel of a hotel bed. Starch goes above and beyond water by setting the fabric so that your linens stay crisp (but not stiff) longer. Starch also gives your linens more body so that they’ll feel nice and cool when you or your guests slip into them.
- Fold the sheets lengthwise into quarters. Doing this will speed the ironing process and provide you with a nice, manageable panel to work with. Since the sheet is folded lengthwise, the creases will not show once you make the bed.For the fitted sheet, secure the corners over the ironing board to avoid the elastic getting in the way as you iron.
- Iron on high heat. There’s something wonderfully satisfying in watching the wrinkles melt out of your bed linens as you pass over them with a hot iron. Wait until the iron is fully heated up before tackling the folded sheet—this will help ensure each layer gets a nice pressing.
- Don’t skip the pillow cases. Fluffy, smooth pillows are the centerpieces of a well-made bed. Each pillowcase should be carefully starched and pressed before inserting the pillows.
- Smooth and tuck. Make the bed with the freshly ironed linens, being careful to smooth each layer as you go. Tightly tuck in the corners of each layer as well as the pillowcases for that quintessential polished look.
Time-Saving Tips:
Don’t let being short on time keep you from the simple luxury of climbing into a perfectly made bed at night. Here are a few tips to speed up the process when time is of the essence:
- Starch and press the pillowcases. Since pillowcases are the most visible of all the bed linens, simply having the pillowcases starched and pressed will greatly improve the overall appearance of a made bed.
- Iron the (dry) sheets while they’re on the bed. While the final result may not be quite as crisp, this method is easier and faster than using an ironing board. You can still use starch to help eliminate wrinkles even faster. Warning—be sure to research your mattress material and appropriate heat settings before ironing sheets on the bed. We don’t recommend ironing sheets on the bed if heat can damage your mattress. If you choose to iron on the bed, keep movements quick and light.
- Focus on the top quarter only. You can still get the polished look of a hotel bed by starching and ironing just the pillowcases and the top quarter of the fitted and flat sheets—the only portion that’s visible when the bed is made. It may feel a little like cheating, but once you fluff the pillows and smooth out the duvet, you (and your guests) will be impressed at how luxurious your bed looks with minimal effort.
New to the idea of using starch in your ironing routine? Read our quick tips for how to get started using starch.
You’re looking to bring your best to the table. With a few tricks and a can of Faultless, you’ll be surprised at just how good your linens will look.
Getting Started
You can use either Faultless Heavy or Regular Spray Starch. It all depends on the fiber content and stiffness desired. Magic® Sizing is extremely effective on fabrics with a high polyester content.
Master the Napkin Fold
Use Faultless Heavy or Regular Spray Starch for the extra body required to transform your napkin into an imaginative shape.
Freshen Up Your Tablecloth
Start by doubling your tablecloth. Spray and iron a section at a time. Turn it over and repeat the process. To avoid a center crease, shift the fabric to one side, spray and iron, but don’t crease.
Use your table linens infrequently? Save the ironing until you’re ready to use them so they’ll be fresh.
Make Your Placemats Pristine
Everyday placemats look perky and fresh when starched with Faultless. The fabric will repel soil and will wash clean more easily.
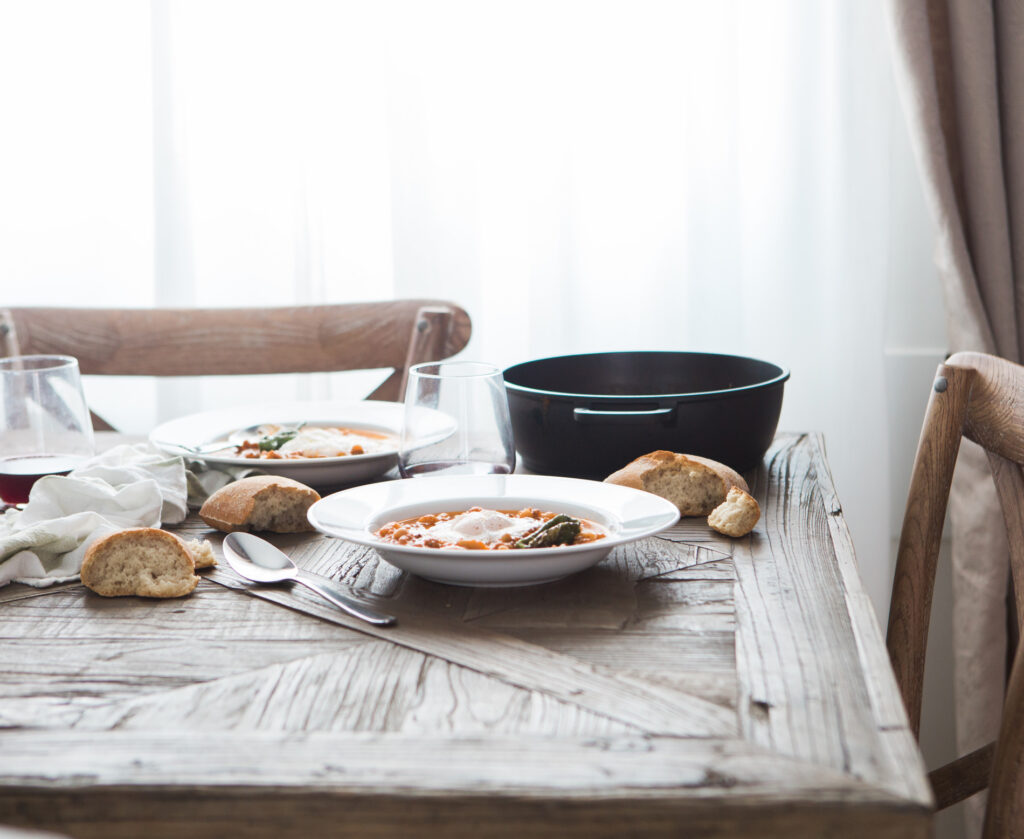
Creating a festive atmosphere is the key to putting on a great dinner party. Whether you’re settling in to a new home, newly engaged, or hosting a holiday party for the first time, you’re likely feeling pressed to impress—especially when it comes to setting the table. Understanding the anatomy of a dinner party table setting will help you feel prepared and confident when the big day arrives.
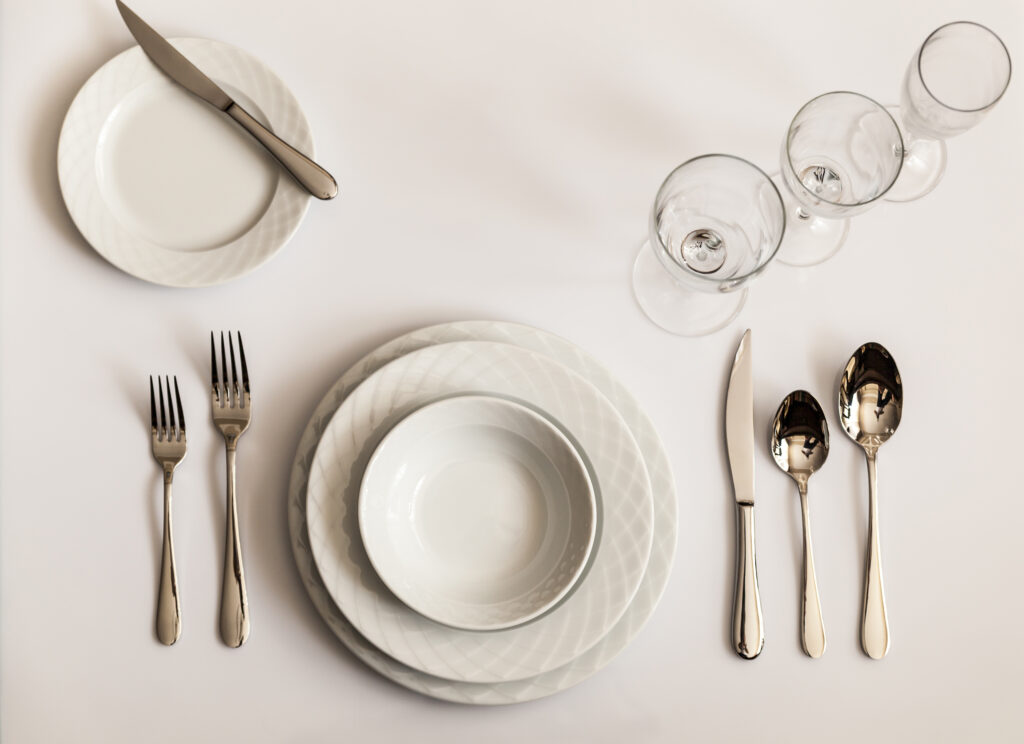
Plates and utensils
One of the most important pieces to get right when hosting a dinner party is the placement of plates and utensils. This is something many hostesses skip over, so being able to present a proper table setting will impress your friends and family. For a basic table setting, you’ll need the following:
- A long-pronged dinner fork to the left of the plate
- A butter knife to the right of the plate with the blade facing the plate
- A spoon to the right of the knife
- A water glass above the knife
- If you’re hosting a more formal party with several courses to the meal, some additional pieces are needed:
- A wine glass, if necessary, next to the water glass
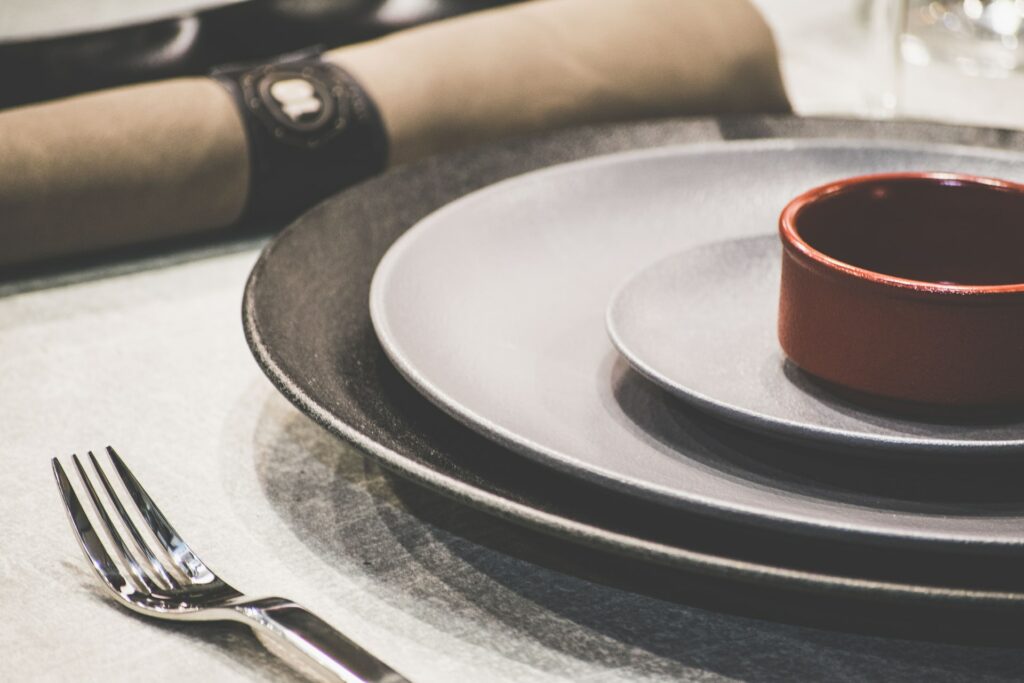
- If serving soup and/or salad, the salad plate goes atop the dinner plate, and the soup bowl sits atop the salad plate.
- The short-pronged salad fork goes to the left of the dinner fork
- The larger soup spoon goes to the right of the dinner spoon (if there is a need for a spoon in multiple courses)
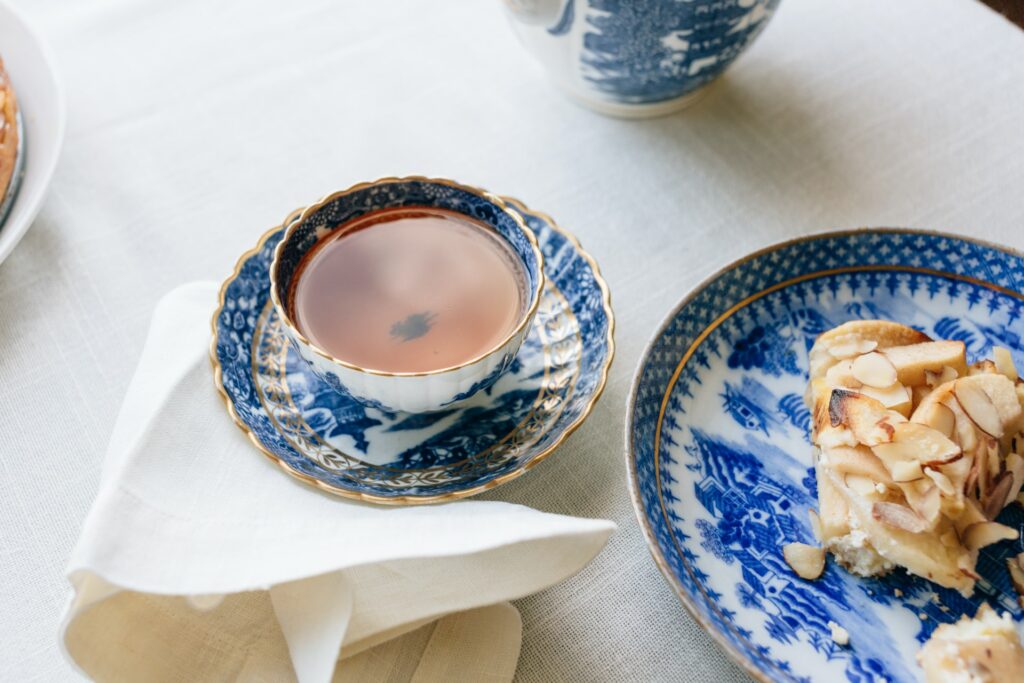
Napkin
A folded cloth napkin lends an air of formality to the dinner party table. The napkin can be folded into a rectangle and placed atop the dinner plate or directly beneath the soup bowl. You can also place the napkin to the left of the fork.Don’t worry if you lack the skills to fold cloth napkins into ornate shapes—the key is to present a crisp, smooth napkin that’s free of any wrinkles. To prepare ahead, use Niagara Original Spray Starch Plus or Niagara Fabric Finish Spray Sizing and iron the day before to lock out wrinkles for that clean, polished look.
Tablecloth
A neutral linen tablecloth will provide a solid anchor to your table for any occasion. Prior to putting the tablecloth on the dinner table, iron with starch to make the process easier and faster—simply throwing it in the dryer won’t eliminate wrinkles and your table will look disheveled. Using spray starch also sets the fabric and prevents wrinkles from creeping back in. If you feel the table looks too plain with a solid, neutral cloth, add interest with a fun table runner.
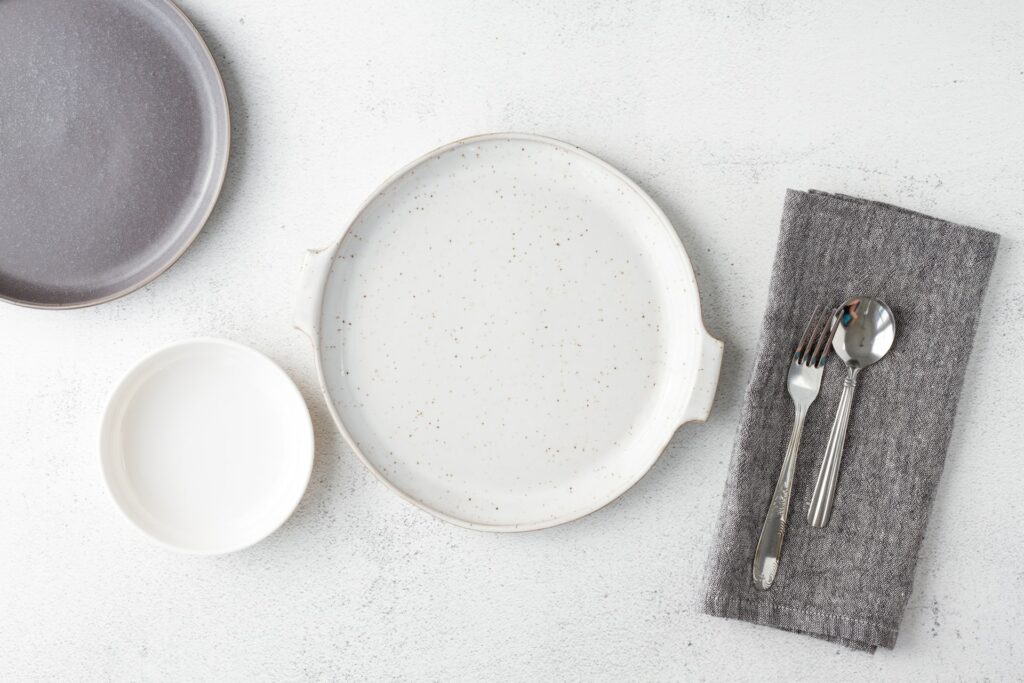
Placemat
Add a placemat or charger beneath each dinner plate for a more sophisticated place setting. If you choose cloth placemats, be sure to starch and press them along with your other table linens. Spray starch also helps protect your linens from food and beverage stains so you don’t have to fret over drips and spills.

Centerpiece
The centerpiece sets the mood and ties the whole table together. You can use flowers, candles, and/or decorative objects—just be sure that your centerpiece is not so tall that guests seated across the table have difficulty seeing one another. Avoid using fragrant flowers in the centerpiece, as these can compete with the aroma of the meal and ultimately alter its flavor.
With the right amount of preparation and attention to detail, you’ll be sure to impress at your next dinner party. Need to purchase an iron and ironing board before the big day? Read our tips on how to select the right iron and ironing board combo.
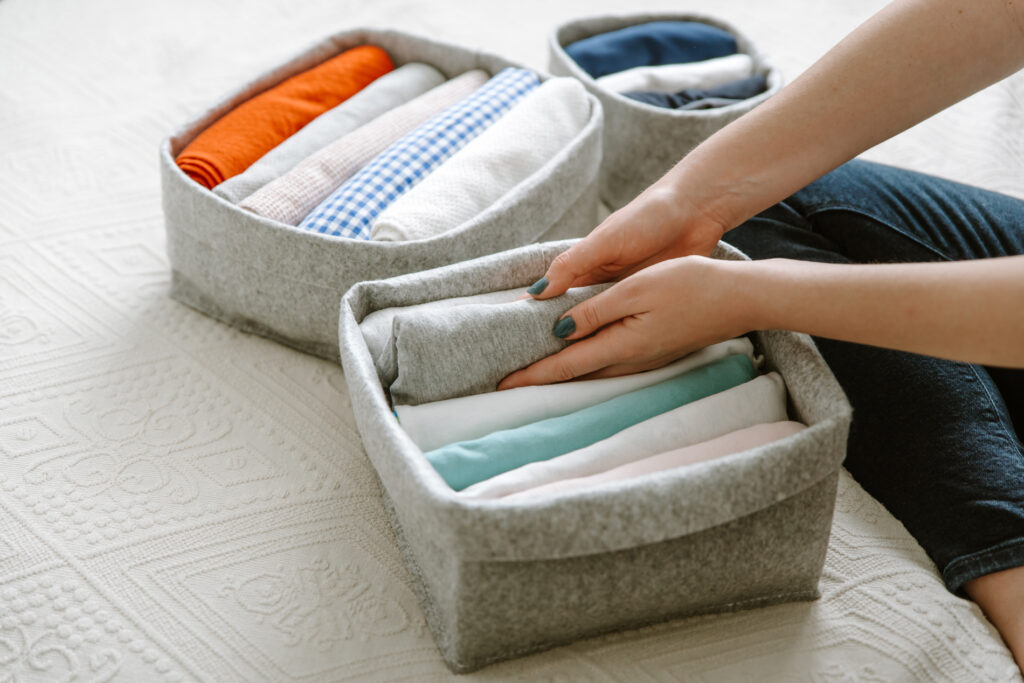
Winter is long gone, but your sweaters are still taking up way too much space in your closet. We’ve got two simple solutions for you. All it takes is a little planning and a few boxes to bring back space and organization to your home.

You know it and your clothes know it—your closet is cramped. But maybe you’re not making the most of your space. Here are a few quick tips to bring organization (and a little breathing room) back into your closet.
Install an Extra Clothes Pole
Nothing helps add more room than a double hang. On the top, hang blouses and shirts. On the bottom, hang slacks and jackets.
Add Shelves Up Top
There’s a lot of wasted space above your clothes pole. By installing shelves you can store shoes and other smaller items with ease.
Use the Closet Door
Closet door shoe racks can work wonders. And, you can use them for more than shoes. They easily can store belts, purses and other accessories.

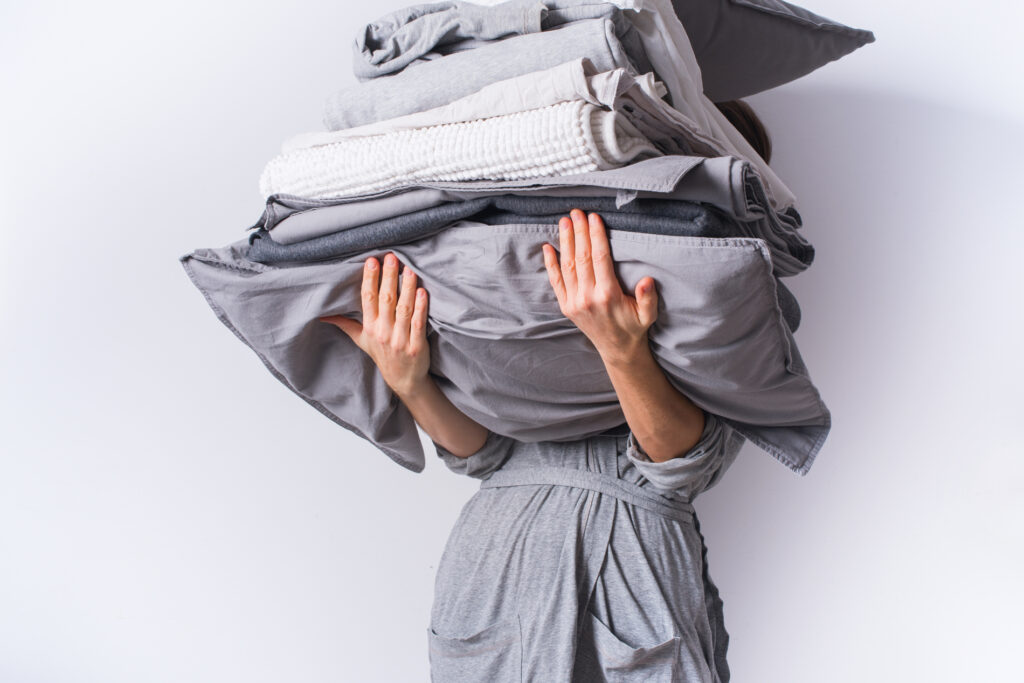
Laundry is one of those never-ending chores that’s always on our to-do lists. That’s why it’s important to have a laundry space you actually want to spend time in. An organized, well-designed laundry area will welcome you and make you feel more prepared and relaxed as you go about your work. Here are the elements you’ll need to craft the perfect laundry room: